Quick Start Guide#
This section provides instructions on how to hook up your board. This Beagle requires a 5V > 3A (15W) power supply to work properly via either USB Type-C power adapter or a barrel jack power adapter.
Recommended adapters can be found at Power supplies section. All the BeagleBone AI-64 connections ports we will use in this chapter are shown in the figure below.

Fig. 315 BeagleBone AI-64 connections ports#
What’s In the Box#
In the box you will find two main items as shown in BeagleBone AI-64 box content.
Instruction card
Note
A USB-C to USB-C cable is not included, but recommended for the tethered scenario and creates a developer experience where the board can be used immediately with no other equipment needed.
Tip
For board files, 3D model, and more, you can checkout BeagleBona AI-64 repository on OpenBeagle.
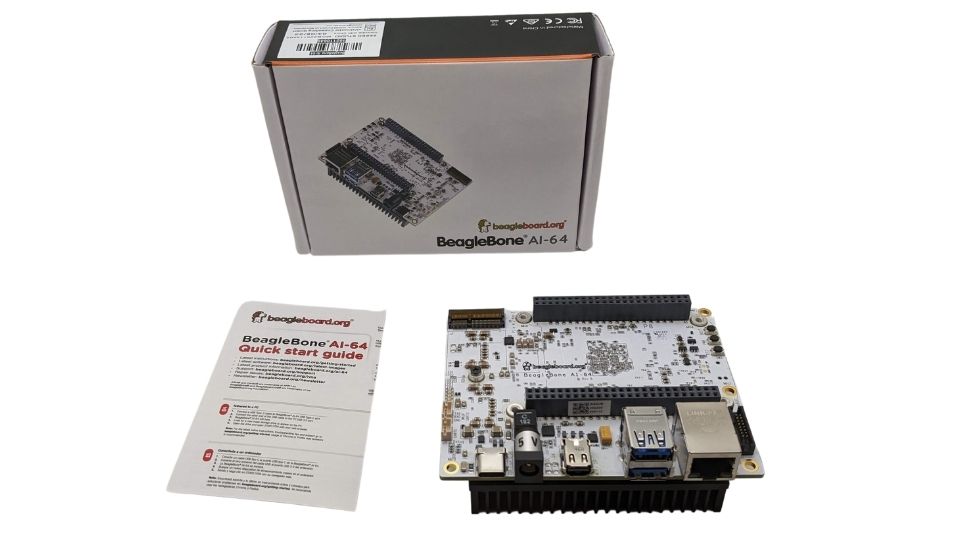
Fig. 316 BeagleBone AI-64 box content#
Methods of operation#
Tethered to a PC
Standalone development platform in a PC configuration using external peripherals
Main Connection Scenarios#
This section describes how to connect and power the board and serves as a slightly more detailed description of the Quick Start Guide included in the box. The board can be configured in several different ways, but we will discuss the two most common scenarios.
Tethered to a PC via the USB cable
Board is accessed as a storage drive and virtual Ethernet connection.
Standalone Desktop
DisplayKeyboard and MouseExternal 5V > 3A power supply
Each of these configurations is discussed in general terms in the following sections.
In this configuration, the board is powered by the PC via a single USB cable. The board is accessed either as a USB storage drive or via the browser on the connected PC. You need to use either Firefox or Chrome on the PC, Internet Explorer will not work properly.
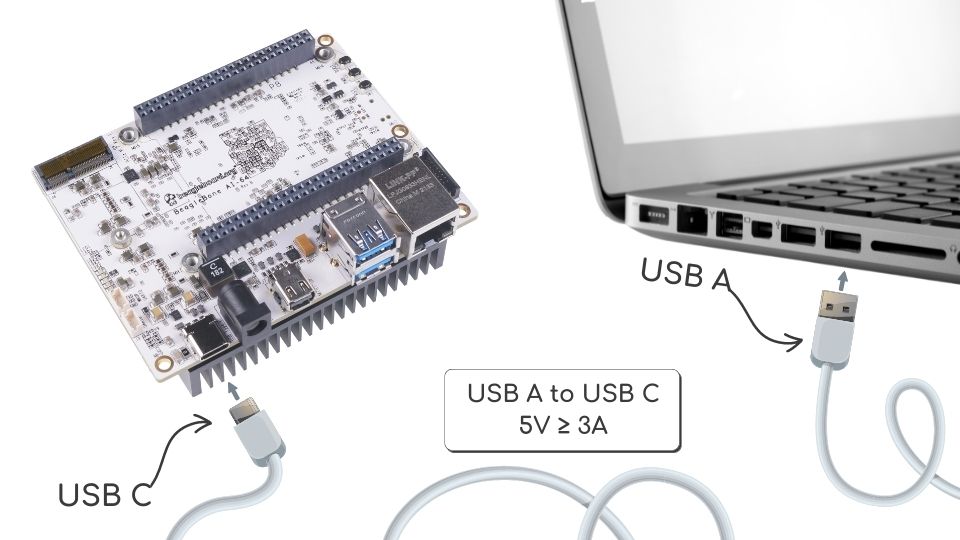
Fig. 317 Tethered Configuration#
At least 5V @ 3A is required to power the board, In most cases the PC may not be able to supply sufficient power for the board unless the connection is made over a Type-C to Type-C cable. You should always use an external 5V > 3A DC power supply connected to the barrel jack if you are unsure that the system can provide the required power or are otherwise using a USB-A to Type-C cable which will always require power from the DC barrel jack.
Connect the Cable to the Board
Connect the type C USB cable to the board as shown in the figure below. The connector is on the top side of the board near barrel jack.
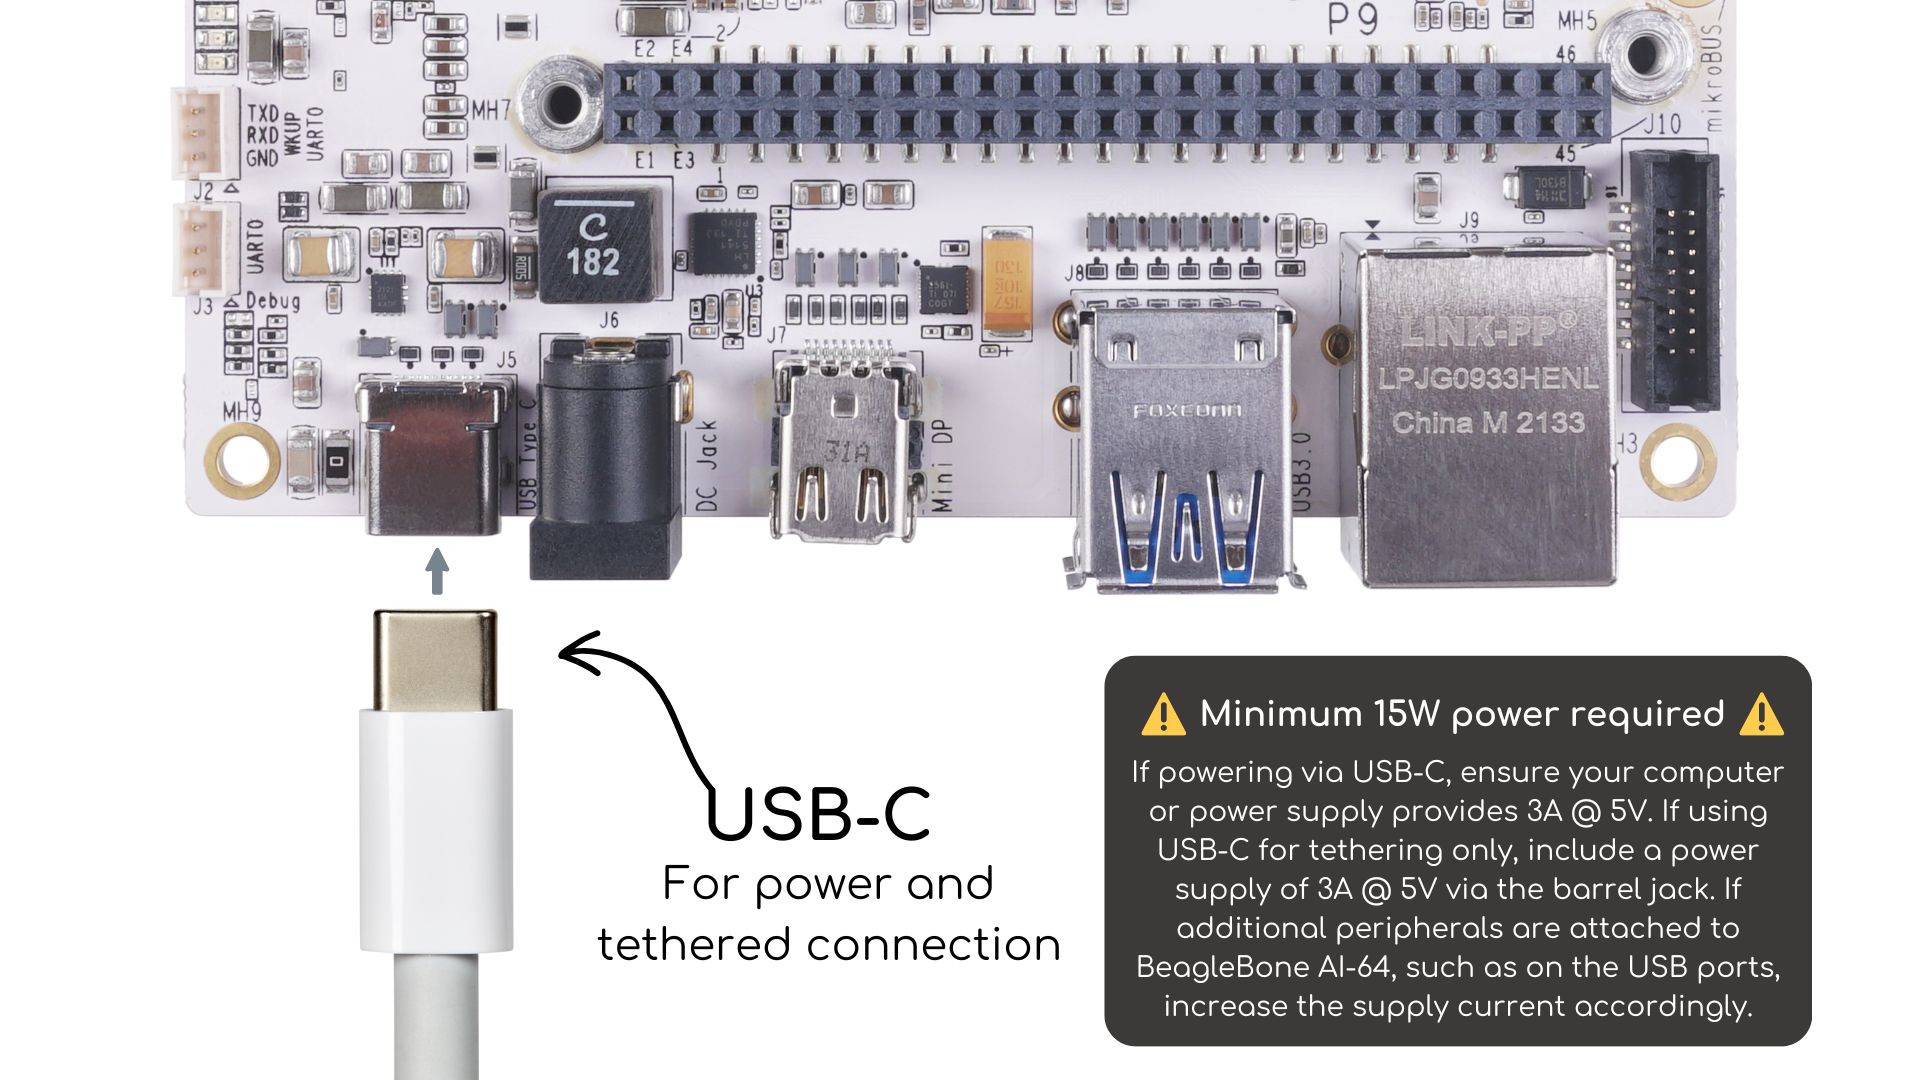
Fig. 318 USB Connection to the Board#
Connect the USB-A end of the cable to your PC or laptop USB port as shown in the figure below.
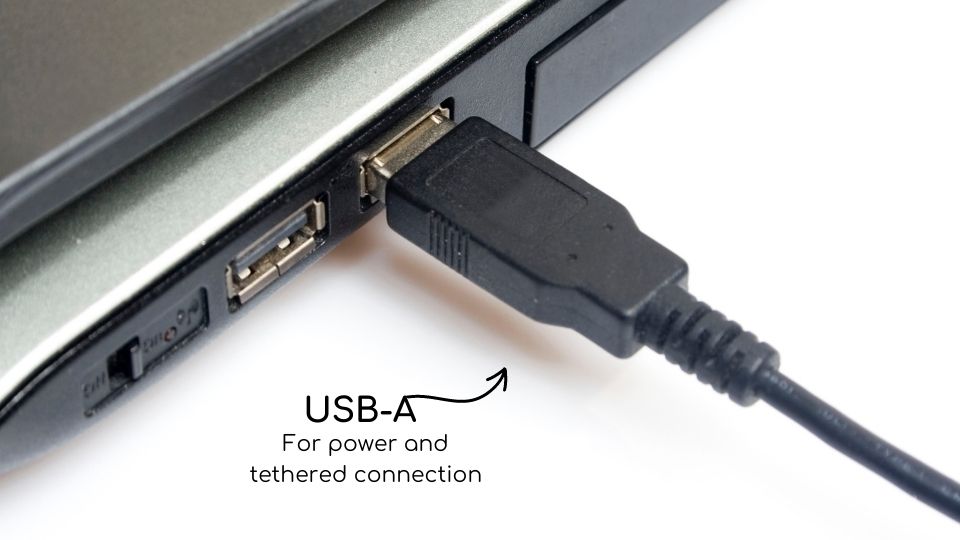
Fig. 319 USB Connection to the PC/Laptop#
The board will power on and the power LED will be on as shown in the figure below.
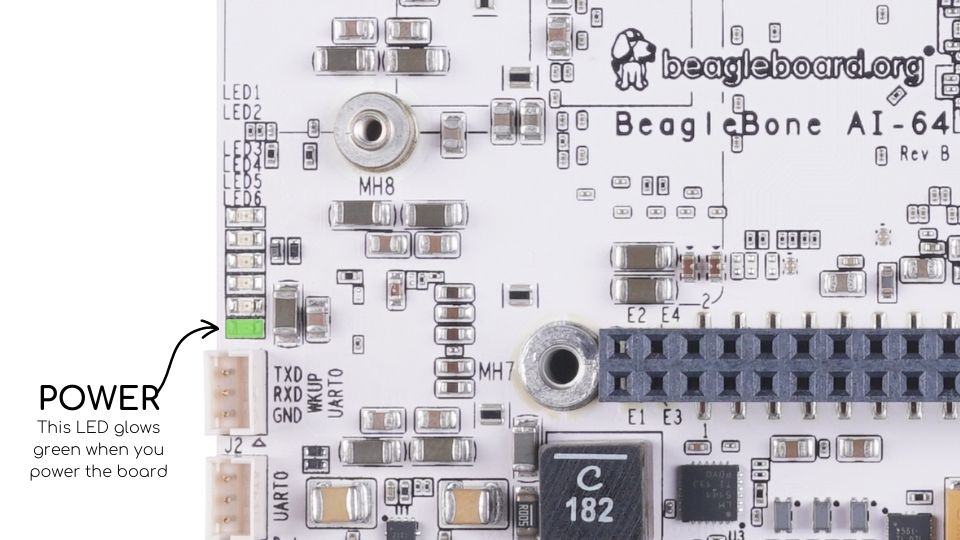
Fig. 320 Board Power LED#
When the board starts to the booting process started by the process of applying power, the LEDs will come on in sequence as shown in the figure below. It will take a few seconds for the status LEDs to come on, so be patient. The LEDs will be flashing in an erratic manner as it begins to boot the Linux kernel.
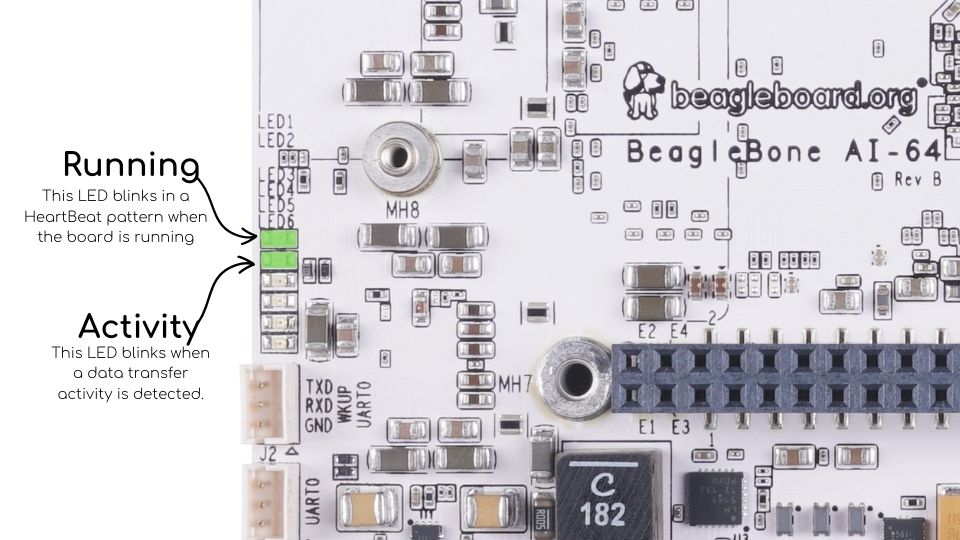
Fig. 321 Board Boot Status#
Accessing the Board as a Storage Drive
The board will appear around a USB Storage drive on your PC after thekernel has booted, which will take a round 10 seconds. The kernel on the board needs to boot before the port gets enumerated. Once the board appears as a storage drive, do the following:
Open the USB Drive folder.
Click on the file named start.htm
The file will be opened by your browser on the PC and you should get a display showing the Quick Start Guide.
Your board is now operational! Follow the instructions on your PC screen.
In this configuration, the board works more like a PC, totally free from any connection to a PC as shown in the figure below. It allows you to create your code to make the board do whatever you need it to do. It will however require certain common PC accessories. These accessories and instructions are described in the following section.

Fig. 322 Desktop Configuration#
Ethernet cable and M.2 WiFi + Bluetooth card are optional. They can be used if network access required.
Required Accessories
In order to use the board in this configuration, you will need the following accessories:
Optional Accessories
Powered USB hub, The board has only two USB Type-A host ports, so you may need to use a powered USB Hub if you wish to add additional USB devices, such as a USB WiFi adapter.
M.2 Bluetooth & WiFi module, For wireless connections, a USB WiFi adapter or a recommended M.2 WiFi module can provide wireless networking.
Connecting Up the Board
Connect the miniDP to DP or active miniDP to HDMI cable from your BeagleBone AI-64 to your monitor.
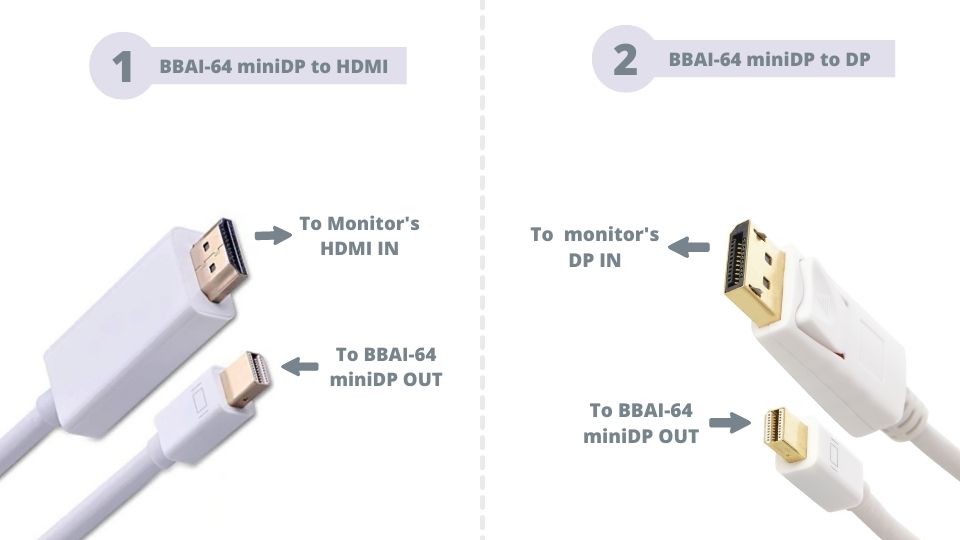
Fig. 323 Connect miniDP-DP or active miniDP-HDMI cable to BeagleBone AI-64#
If you have an Display Port or HDMI monitor with HDMI-HDMI or DP-DP cable you can use adapters as shown in the figure below.
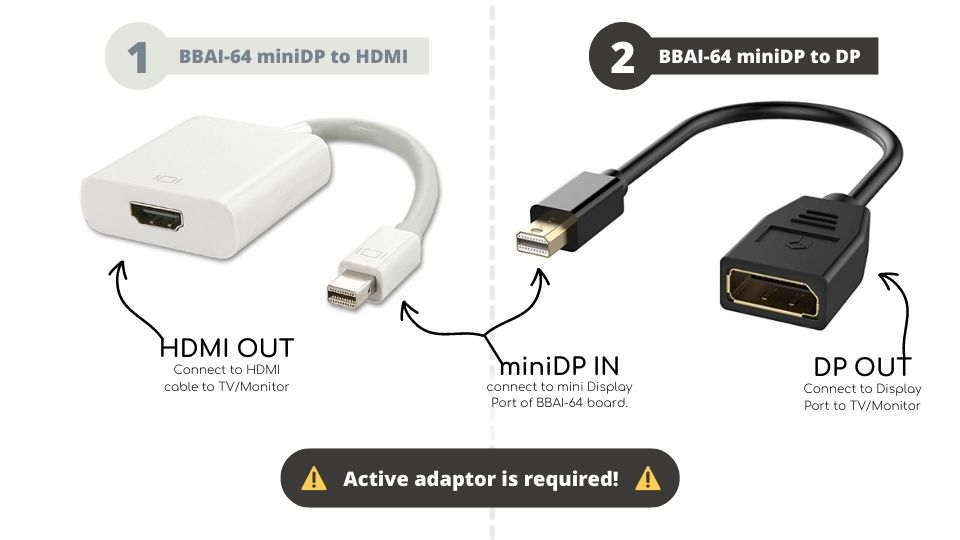
Fig. 324 Display adapters#
If you have wired/wireless USB keyboard and mouse such as seen in the figure below, you need to plug the receiver in the USB host port of the board as shown in the figure below.
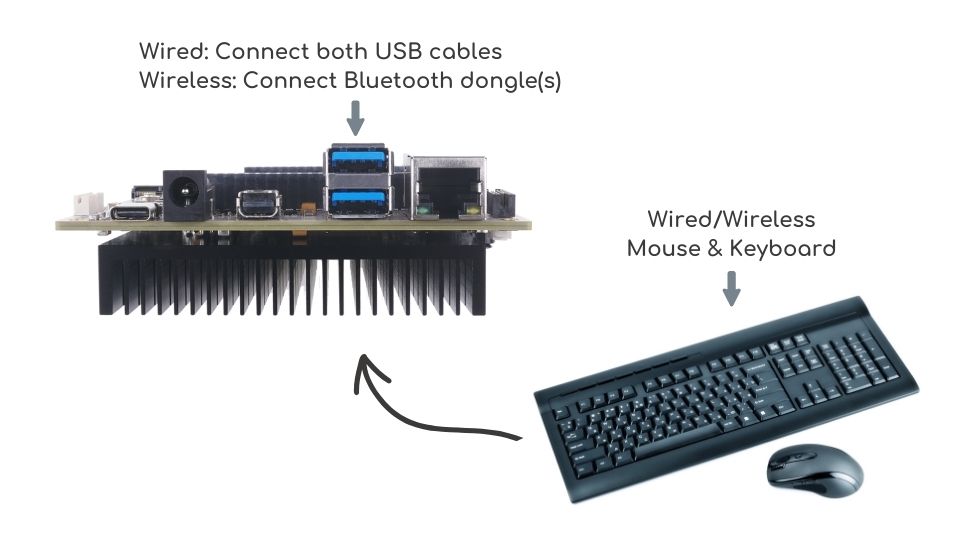
Fig. 325 Keyboard and Mouse#
Connect the Ethernet Cable
If you decide you want to connect to your local area network, an Ethernet cable can be used. Connect the Ethernet Cable to the Ethernet port as shown in the figure below. Any standard 100M Ethernet cable should work.
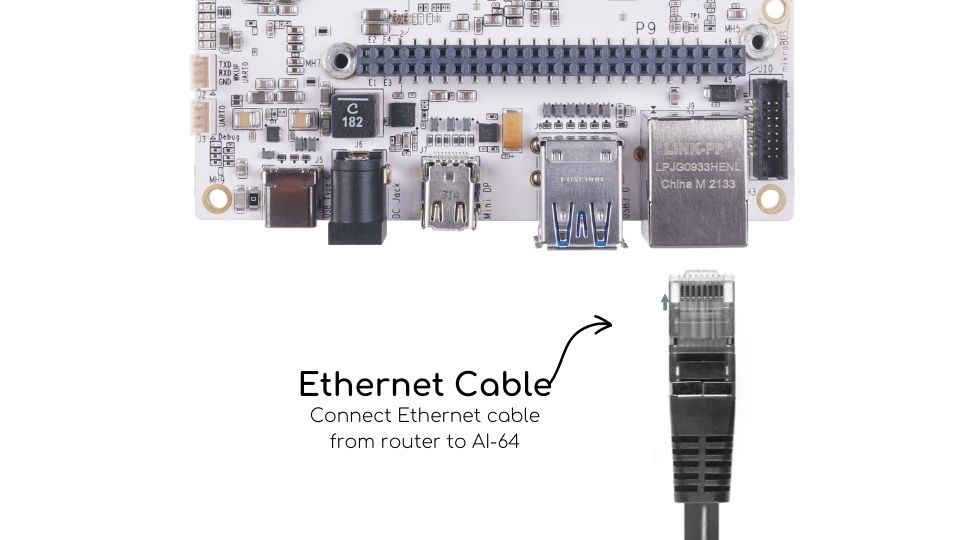
Fig. 326 Ethernet Cable Connection#
The final step is to plug in the DC power supply to the DC power jack as shown in the figure below.
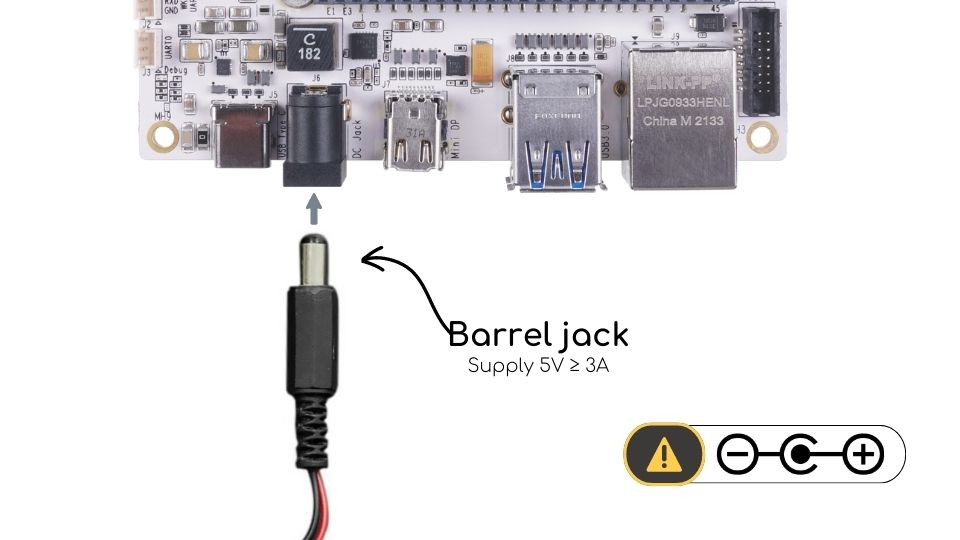
Fig. 327 External DC Power#
The cable needed to connect to your display is a miniDP-DP or active miniDP-HDMI. Connect the miniDP connector end to the board at this time. The connector is on the top side of the board as shown in the figure below.
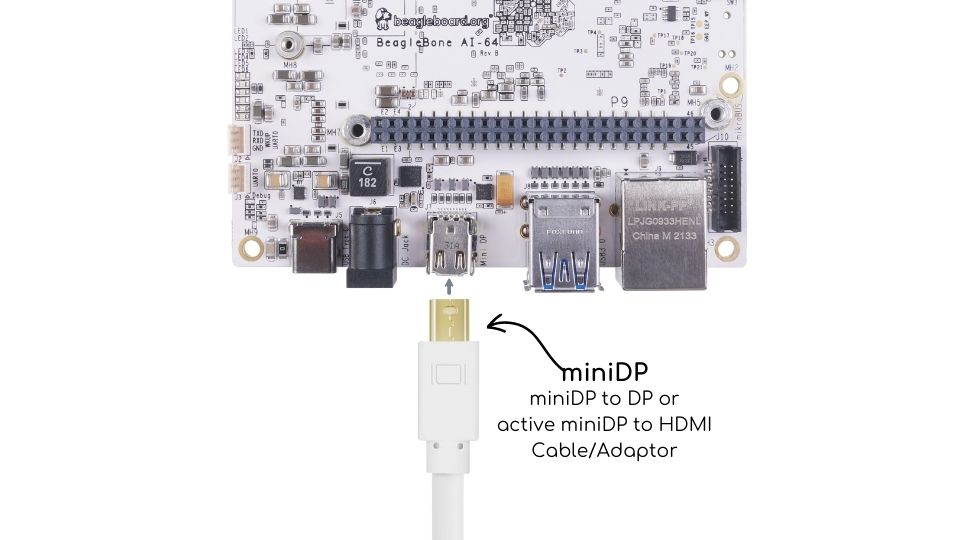
Fig. 328 Connect miniDP to DP or active miniDP to HDMI Cable to the Board#
The connector is fairly robust, but we suggest that you not use the cable as a leash for your Beagle. Take proper care not to put too much stress on the connector or cable.
Booting the Board
As soon as the power is applied to the board, it will start the booting up process. When the board starts to boot the LEDs will come on. It will take a few seconds for the status LEDs to come on, so be patient. The LEDs will be flashing in an erratic manner as it boots the Linux kernel.

Fig. 329 BeagleBone AI-64 LEDs#
While the four user LEDs can be over written and used as desired, they do have specific meanings in the image that is shipped with the board once the Linux kernel has booted.
USR0 is the heartbeat indicator from the Linux kernel.
USR1 turns on when the microSD card is being accessed
USR2 is an activity indicator. It turns on when the kernel is not in the idle loop.
USR3 turns on when the onboard eMMC is being accessed.
USR4 is an activity indicator for WiFi.
A Booted System
The board will have a mouse pointer appear on the screen as it enters the Linux boot step. You may have to move the physical mouse to get the mouse pointer to appear. The system can come up in the suspend mode with the monitor in a sleep mode.
After a minute or two a login screen will appear. You do not have to do anything at this point.
After a minute or two the desktop will appear. It should be similar to the one shown in the figure below. HOWEVER, it will change from one release to the next, so do not expect your system to look exactly like the one in the figure, but it will be very similar.
And at this point you are ready to go! The figure below shows the desktop after booting.
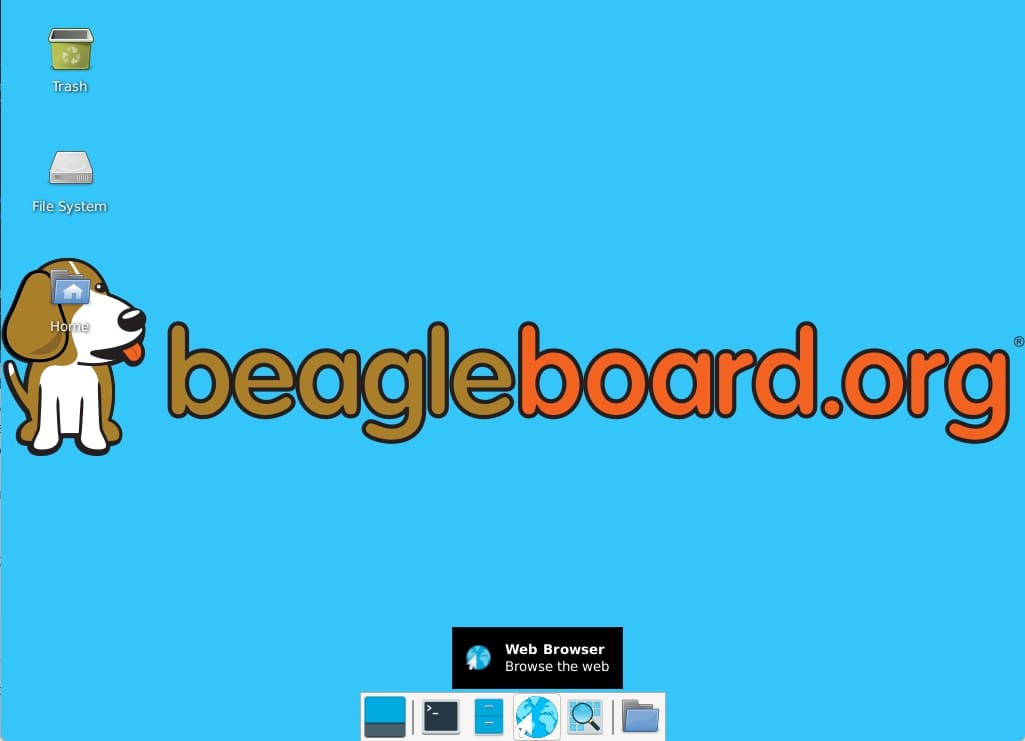
Fig. 330 BeagleBone XFCE Desktop Screen#
Update software#
Production boards currently ship with the factory-installed 2022-01-14-8GB image. To upgrade from the software image on your BeagleBone AI-64 to the latest, you don’t need to completely reflash the board. If you do want to reflash it, visit the flashing instructions on the getting started page. Factory Image update (without reflashing)…
sudo apt update
sudo apt install --only-upgrade bb-j721e-evm-firmware generic-sys-mods
sudo apt upgrade
Update U-Boot:#
to ensure only tiboot3.bin is in boot0, the pre-production image we tried to do more in boot0, but failed…
sudo /opt/u-boot/bb-u-boot-beagleboneai64/install-emmc.sh
sudo /opt/u-boot/bb-u-boot-beagleboneai64/install-microsd.sh
sudo reboot
Update Kernel and SGX modules:#
sudo apt install bbb.io-kernel-5.10-ti-k3-j721e
Update xfce:#
sudo apt install bbb.io-xfce4-desktop
Update ti-edge-ai 8.2 examples#
sudo apt install ti-edgeai-8.2-base ti-vision-apps-8.2 ti-vision-apps-eaik-firmware-8.2
Cleanup:#
sudo apt autoremove --purge
